
Rotoscoping is a technique used in animation to trace over live-action motion picture footage frame by frame. Back in the day, animators would project live-action images onto a glass panel and then trace over that image. Today, rotoscoping is predominantly done on computers.
You will need a video clip that shows plenty of action...
- If your teacher has you working on this individually, the action in your clip should last 5 seconds.
- If your teacher has you working in a group of 3, the action in your clip should last 15 seconds.
Don't forget composition - you can't have parts of your subject or action cut off.
Each person in your group will need the video clip.
Setting up the file
Import the video to the timeline - Create a new file 1920 x 1080 px, 15 frames per second, white background.
- File > Import > Import Video > Embed H.264 video in timeline (Hit Browse)
- Uncheck > Include Audio
The video will be on a layer and you will need to cut out parts that don't have any action.
- Select the frames you want to delete
- Right Click > Remove Frames
Then see how many frames are left on your timeline and divide by 3.
- Assign the first 1/3, second 1/3, and last 1/3 to each person in the group.
- Create and name a layer for each person.
- Insert a Keyframe at the start and end of each layer showing the person where they should start and finish their rotoscope/tracing.

Color Scheme
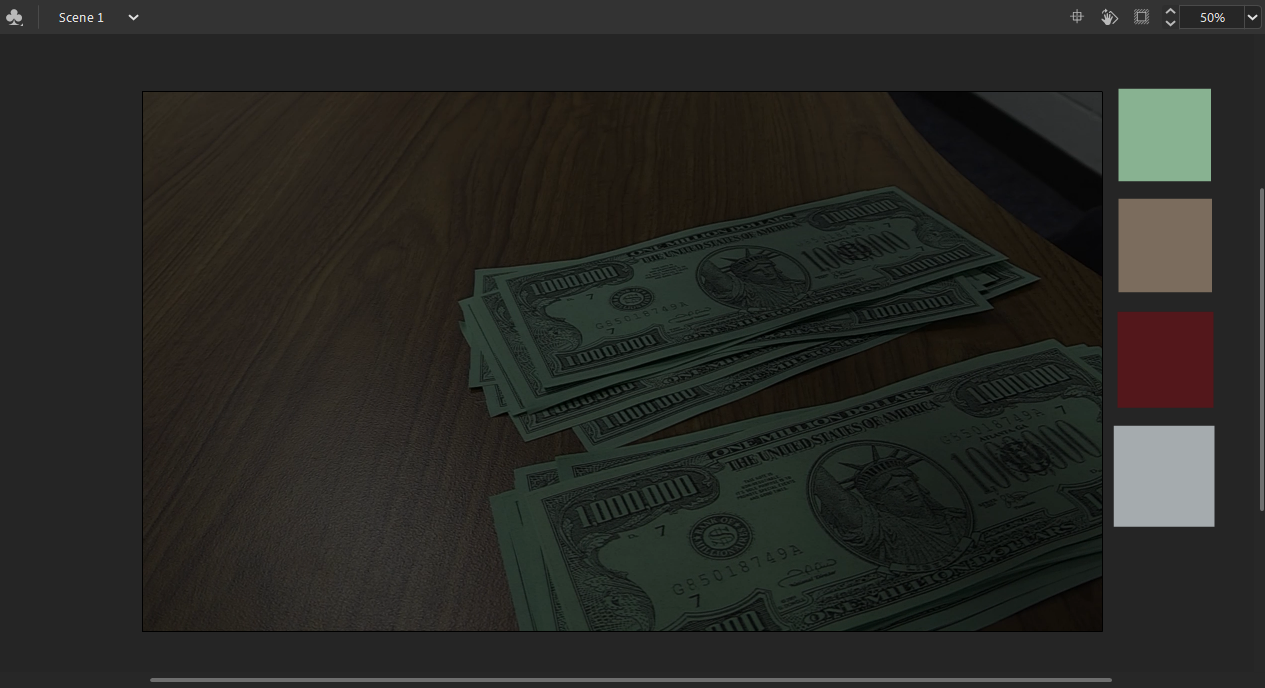
Each of you should use the exact same colors so that when the file is put together it appears to match. Scroll through the video together. Sample the colors of the important parts: action, ball, person's clothing, background wall, etc. Make squares of those colors off-stage so that each person can refer to them.
You'll use a black brush, size 6 to trace the outline of all of your action.
Save your file as #_lastname_rotoscope.fla
Share your file with your group mates - each person will trace their own layer.
Tracing!
Get your tablet and pen.
You will trace in every frame, sometimes every other frame - no less. Make sure you have some background as well as action to trace. You will color in as well as trace the outline.
Putting it all together
When you finish your part, send it to each member of your group.
You will copy the frames from each file into your own. Each of you should do this step to turn it in.
- Select the frames
- Right Click > Copy Frames
- Go to the other file
- Select the frames you want to overwrite (it should be the same number as what you copied)
- Right Click > Paste and Overwrite frames
Export your rotoscope as a video
Turning it in...
You'll post this at the top of your current Six Weeks page.
- Title of the Assignment - Rotoscope
- Reflection Questions
- What is Rotoscope?
- What troubles did you encounter?
- After putting it all together, do all parts look like they go together?
- Did your partners hold up their end of the assignment? Explain.
- Upload your video to YouTube and embed in your ePortfolio.